
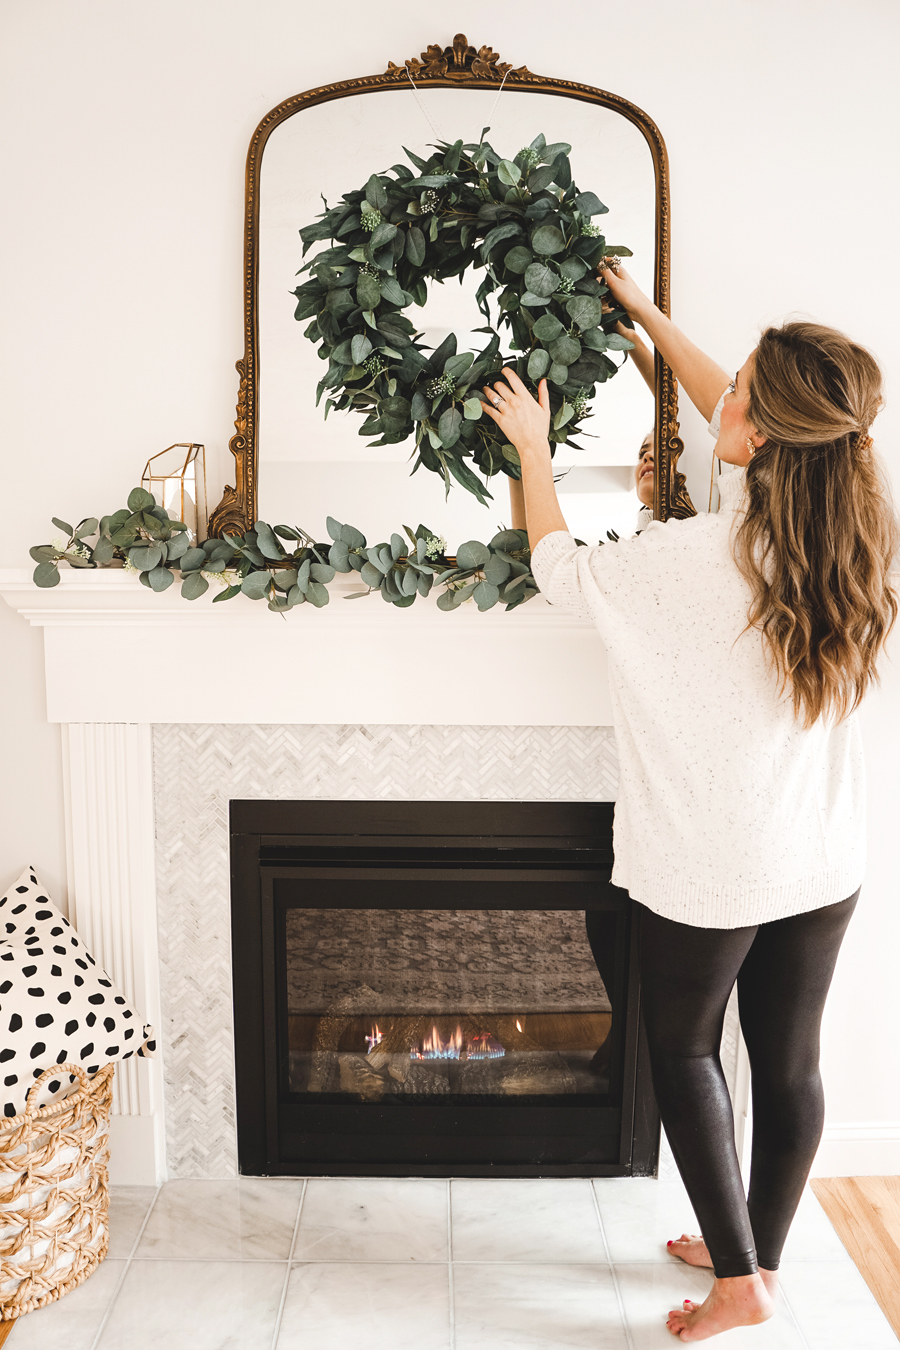
Hi guys! I’m so excited to share our fireplace makeover with you today.
This is our starter home and we will be here for a few years, so we aren’t changing a lot around, but one project I definitely wanted to makeover was our fireplace. There was nothing wrong with the previous fireplace and it was brand new, but since it’s the focus piece of our living room I wanted to swap out the ‘blah’ tile… which is obviously much easier said than done! You can see our old fireplace in this blog post.
I’ve mentioned before that my dad has built houses throughout my life and his tile work is so amazing! In his house, he has double rain showers that are tiled from top to bottom. All that to say, he’s really talented and S and I both wanted him on deck before we hammered into our brand new fireplace haha. I figured that was also good to note so that you know you aren’t getting advice on a fireplace makeover from a fashion and lifestyle blogger and someone actually skilled in this area of work lol.
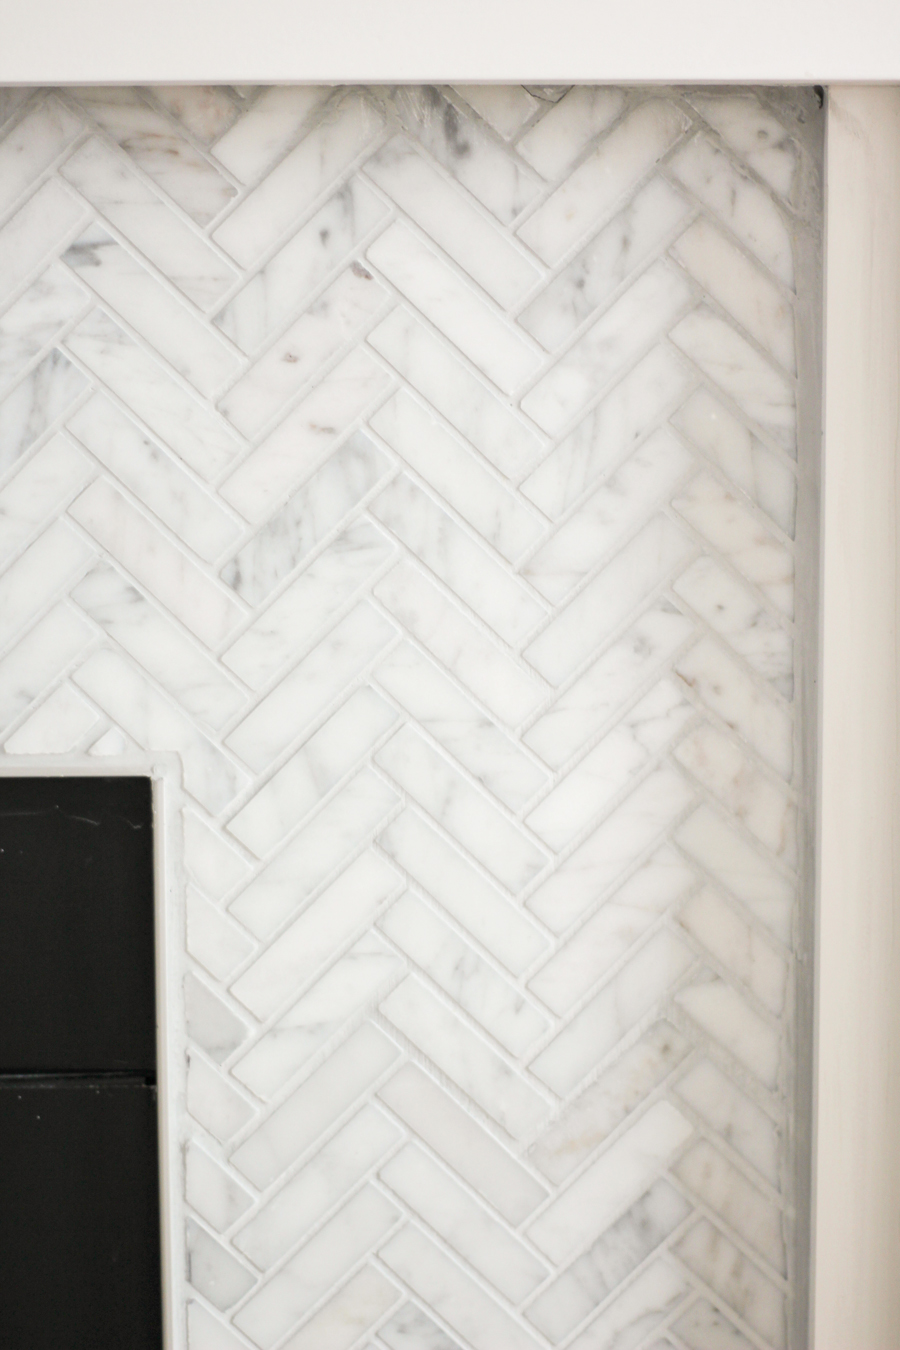
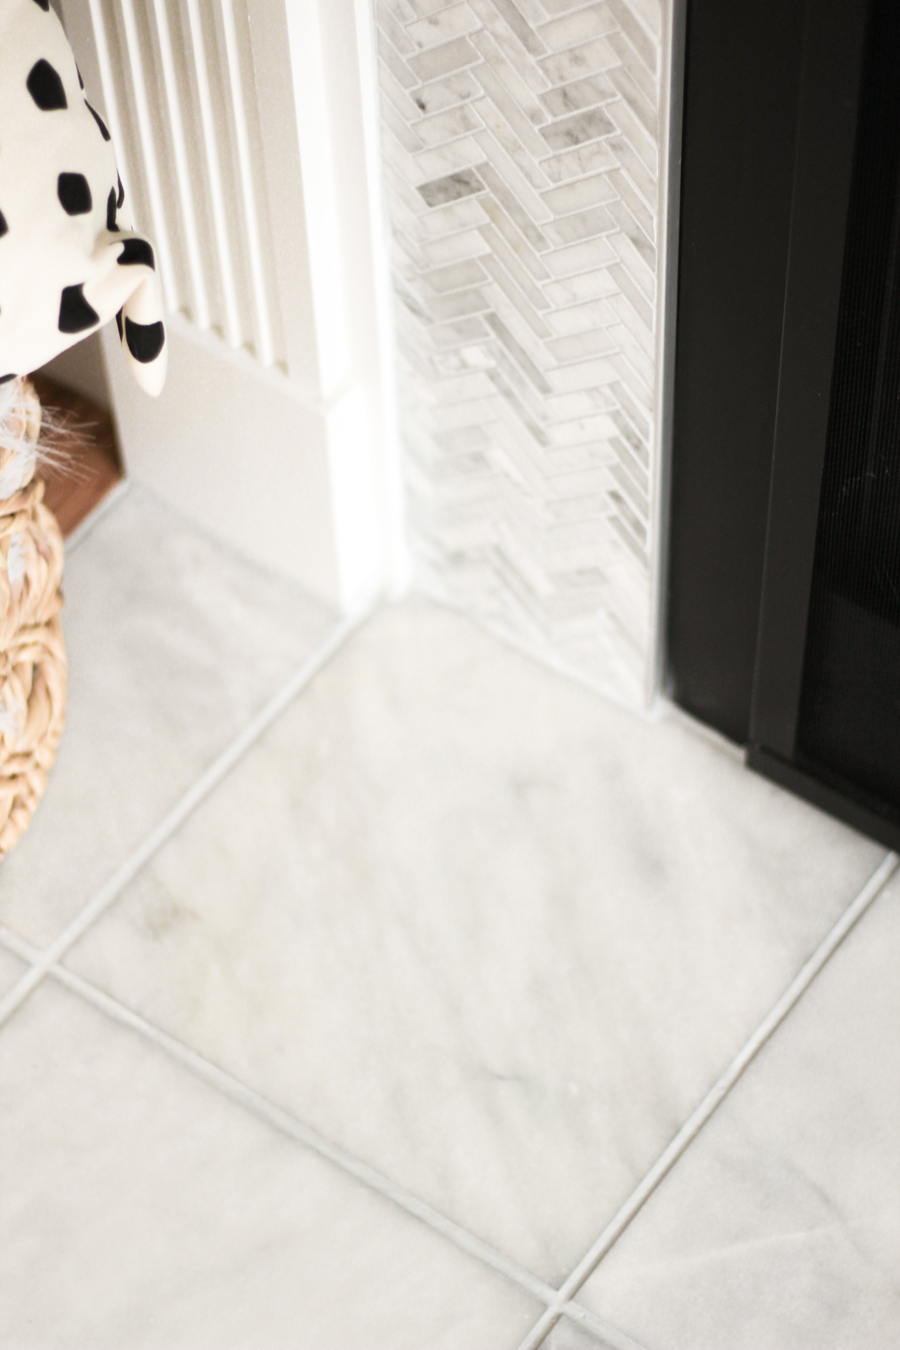
So my dad came down last weekend and in 48 hours, we had a gorgeous revamped marble tile fireplace. I documented what we did in case you want to recreate with the same tile or style! At the end of the post, I also share more photos of the end result.
OUR MARBLE FIREPLACE MAKEOVER
SUPPLIES
10 HERRINGBONE MARBLE TILE
10 MARBLE GREECIAN WHITE MARBLE TILE
THIN-SET MORTAR IN WHITE
*Tip: for a light tile, always lean on the light side with thin-set. We opted for white so that if any comes up in the cracks it’s not biggie.
NONSANDED GROUT IN PLATINUM
*Tip: for grout, if you have a sensitive stone like marble that can easily scratch make sure to get unsanded.
*Tip 2: Also know that the color of the grout will really vary and is typically much lighter than the color on the bottle.
1/8 INCH TILE SPACERS
RIGID 12 AMP WET TILE SAW
SLEDGE HAMMER
2 1/4 INCH PLYWOOD 2’X4′
CHISEL SCRAPER
GROUT FLOAT
My dad would also like me to note that beer was a crucial supply.
 DEMO
DEMO
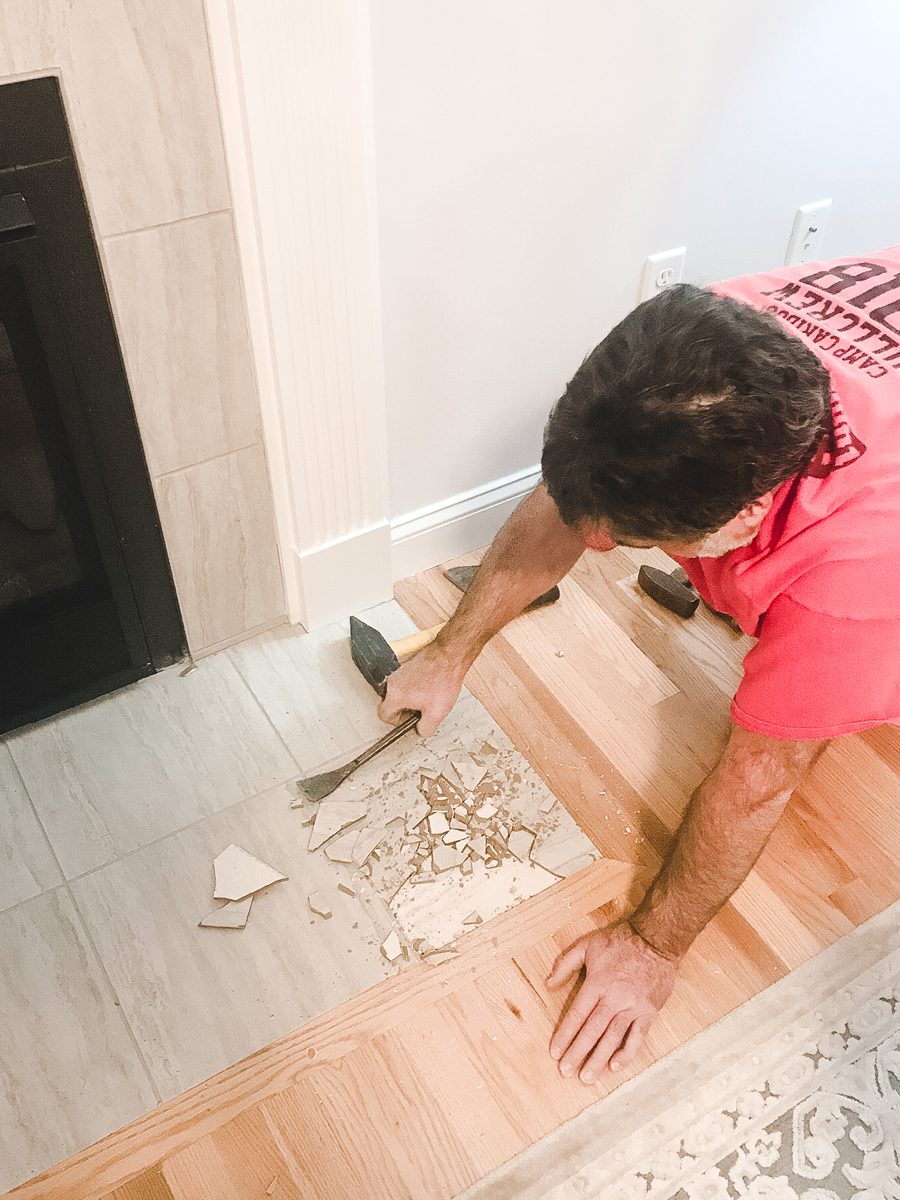
-We removed the floor tile with a sledge hammer. After the first one, we chiseled up the remaining seven tiles without breaking them so it wasn’t all that messy.
-We then carefully removed the tile around the fireplace. We were cautious for two reasons. First, there was metal trim between the black fireplace and the tile grout. We made sure to not damage the metal so that we didn’t need to buy more. Secondly, unlike the floor tile where there was plywood under it, this area just had sheetrock which is much softer. If you damage the sheetrock, you need to repair it. We only had ended up with two little spots to patch.
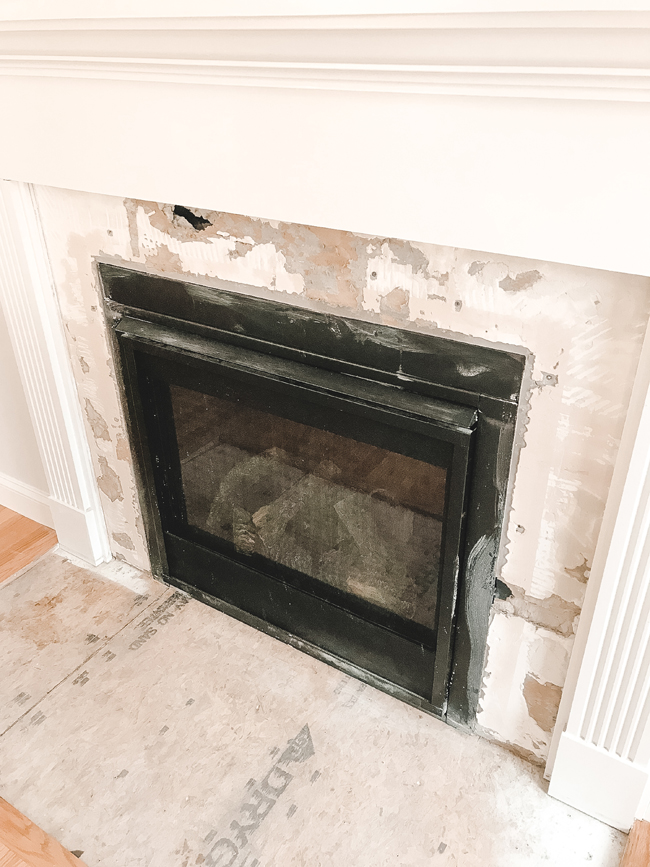
-After all the top and floor tiles were all removed, we chiseled away the old thinset with this $8 scraper. It’s important to have a smooth surface when laying tile. For some stubborn areas, we very lightly wet the thinset with a damp sponge to help with the removal. You’ll just want to be careful to not drench it or soak the sheetrock.
-Underneath the floortile was a piece of plywood which was what we had hoped for! The marble tile we purchased was 50% thicker than what was there originally. We hoped to see plywood so that we could remove it and add a thinner plywood sheet so that our marble tile would work and lay flush with our hardwood floors. If there was no plywood, we’d need to find a thinner tile which thankfully didn’t need to happen, but just keep that in mind during the project!
SHOP OUR FIREPLACE MAKEOVER
PREP FOR TILE APPLICATION
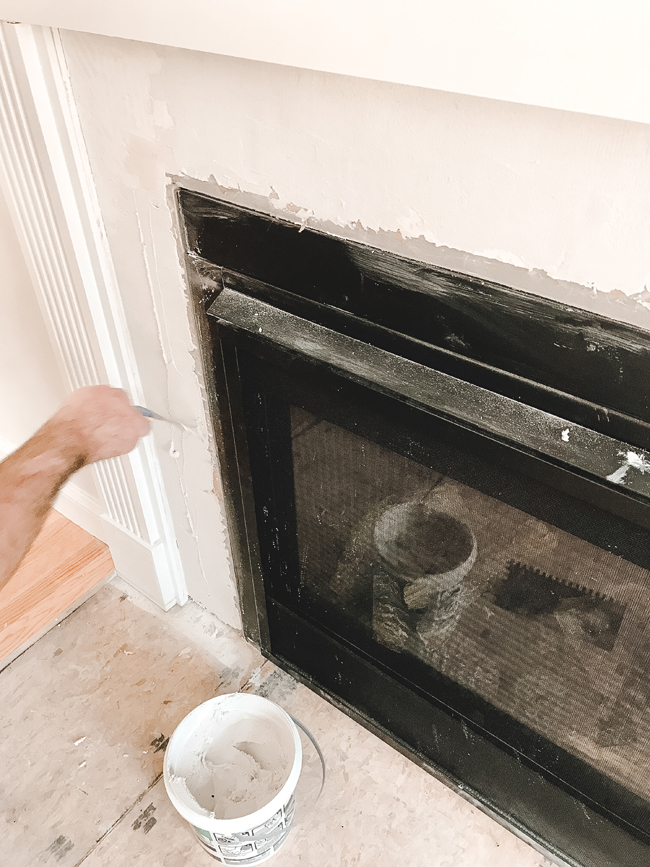
-Patched the two sheetrock holes with reenforcing mesh tape and thinset.
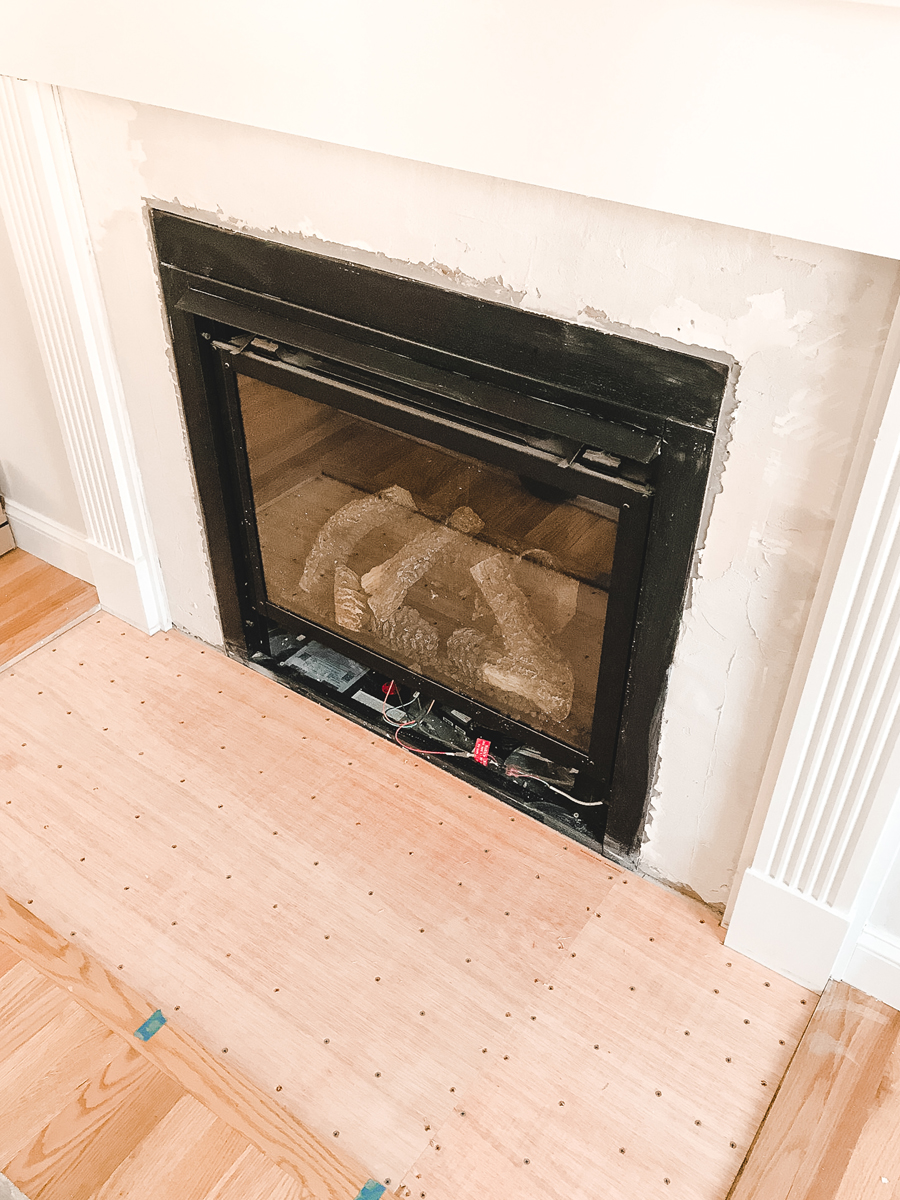
-We measured and cut the plywood to fit. We got 1/4 inch plywood to make the tile come our flush with the hardwood. Depending on your floor, your plywood thickness will vary.
-We screwed the plywood into the floor. We applied a screw every four inches as that’s the flooring best practice for securing wood underneath tiles.
MARBLE FLOOR TILE APPLICATION
-For our game plan, we started with the floor tile rather than the area surrounding the fireplace for a few reasons, but it may be opposite for your unique situation. Keep in mind that with applying the floor first, we had to be super cautious of not stepping on them with the rest of the project.
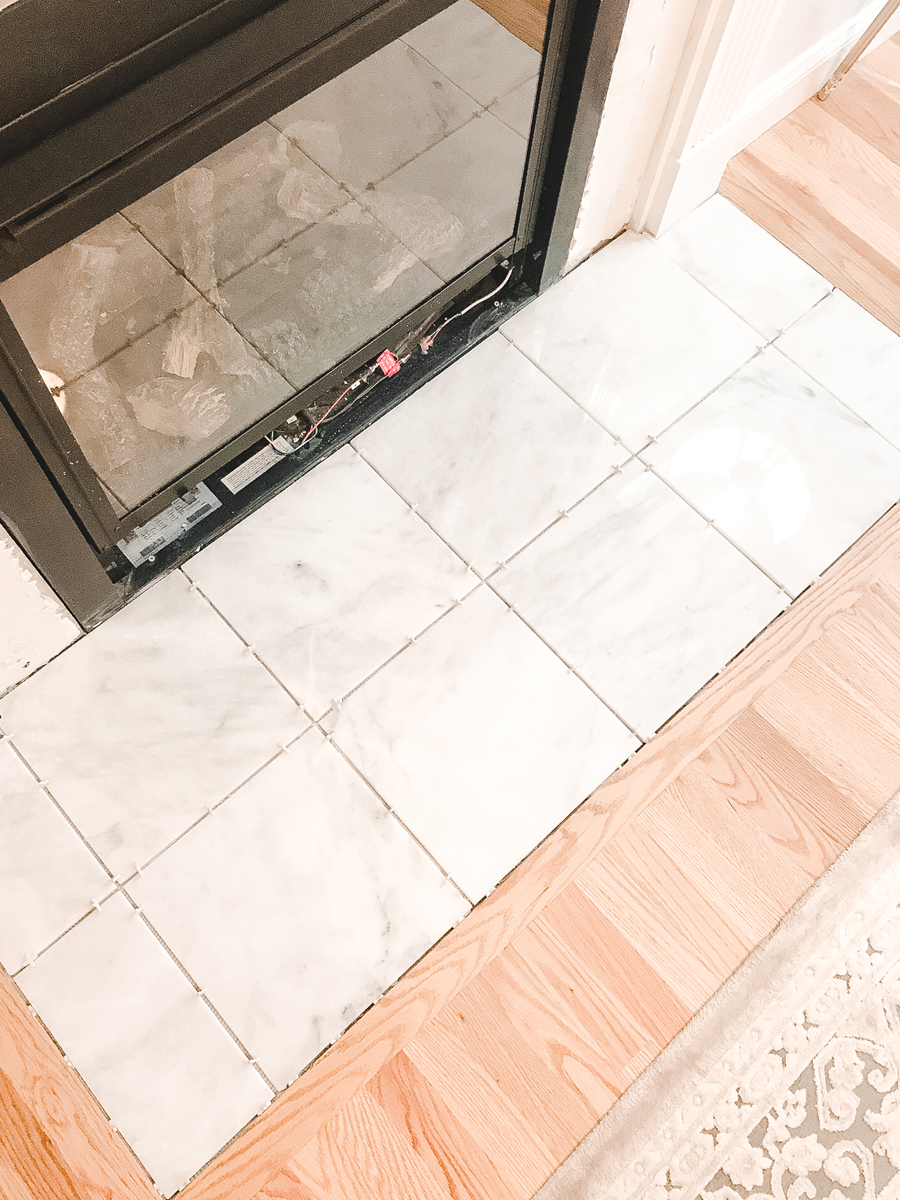
-We then laid out the tile with the space and drew out our cut lines. Note that this was a very precise process and summarizing in that one sentence makes it sound easy, but it takes a lot of concentration and math lol!
-My dad then used his wet saw to cut the tiles to fit the space. Wet saws are of course wet, so we used a permanent marker for drawing lines. We used this wet saw, but if you don’t have a parent with lots of cool power tools you can go to Home Depot as they rent a lot of tools out!
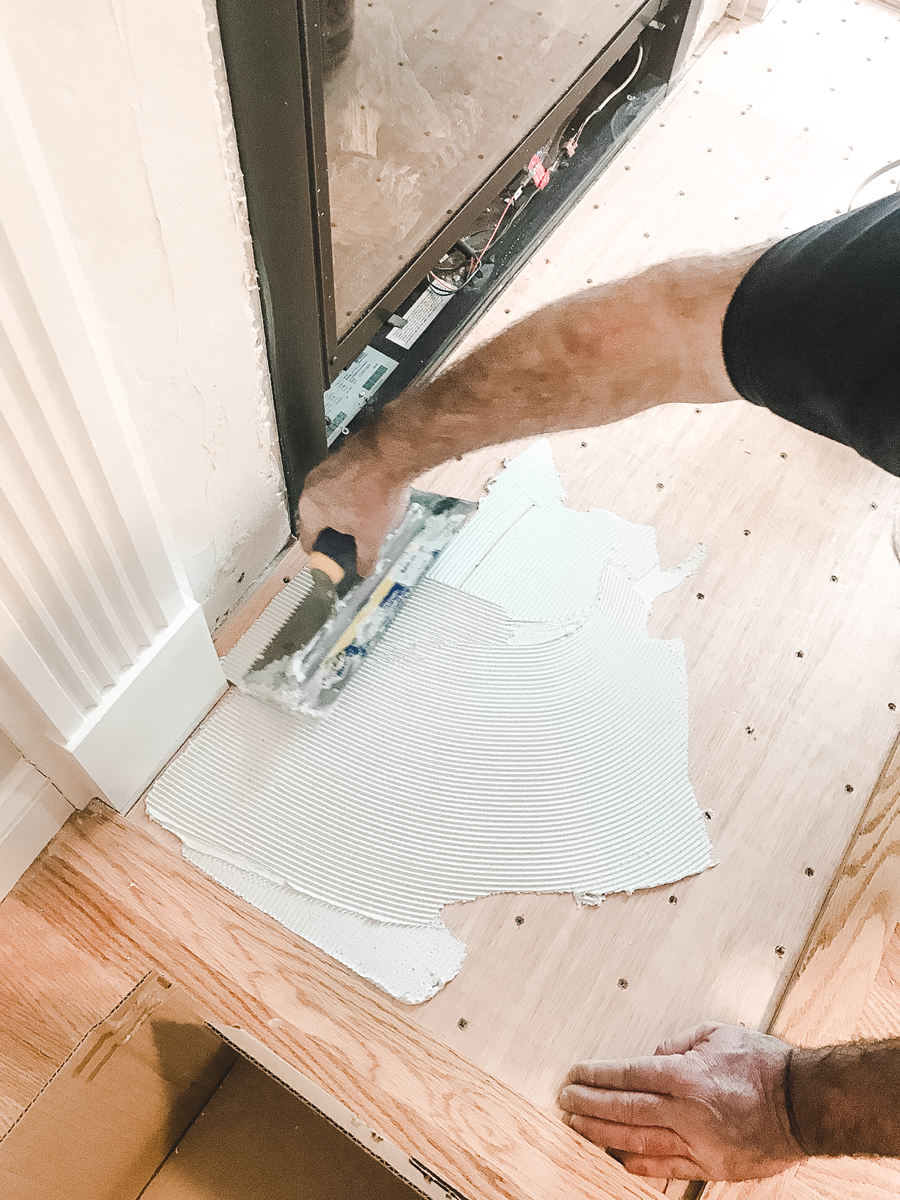
-Then we started applying the thin set which will stick the tile to the plywood. We use this thin set and applied with the application tool pictured below. This dries quickly so apply in small sections. We did the space for about three tiles with each application. In between each tile, we applied these 1/8″ markers to keep them in place and also prep for our future grout.
*Tip: your thin set may come up into the cracks a little which is why getting a thin set that is a similar color or lighter than your grout is important. We used a white thin set and light grey grout.
-In order to have our tile lay flush with our hardwoods, we also had to butter some thin set onto the back of the tile.
-From here, we let is set for 24 hours to dry and in the meantime, started in on the herringbone tile that surrounds the fireplace. More on that below..
HERRINGBONE TILE APPLICATION
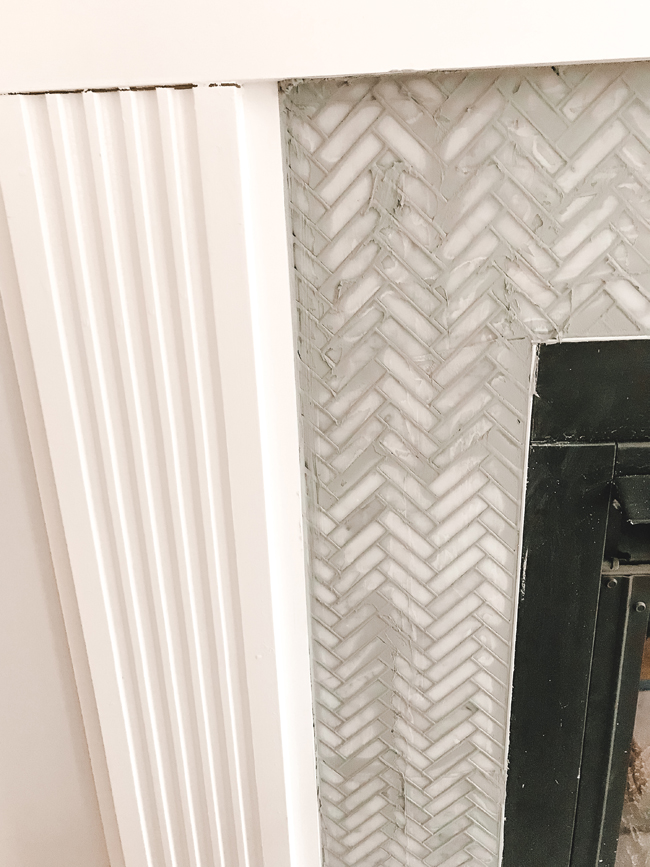
-Before applying any tile to the area around our fireplace, we ensured our patching was all dry.
-From here, we planned out where the tile would lay, drew the cut line and cut with wet saw. This herringbone tile was much more challenging to work with compared to the floor stone for obvious reasons due to the design lay out and the amount of little pieces, but my dad nailed it!

FINISHING TOUCHES
– We let the thinset sit for around 20 hours once it’s completely dry, you can move onto grouting. If you do this before the thin set dries, your tiles will move so the longer the better!
-We chose this unsanded grout in ‘Platinum’ which is a light grey and applied with an applicator like this one. Keep in mind your grout color is always much lighter than what it notes on the box. We mixed our own, but you can get premixed as well it’s just a higher price for less product.
-After the grout was pretty dried in between the tiles, we took a large sponge and wiped down the tile to remove any minor grout spots on top of them and film off the tiles. We repeated this a few times until it was totally clean. And ta da!
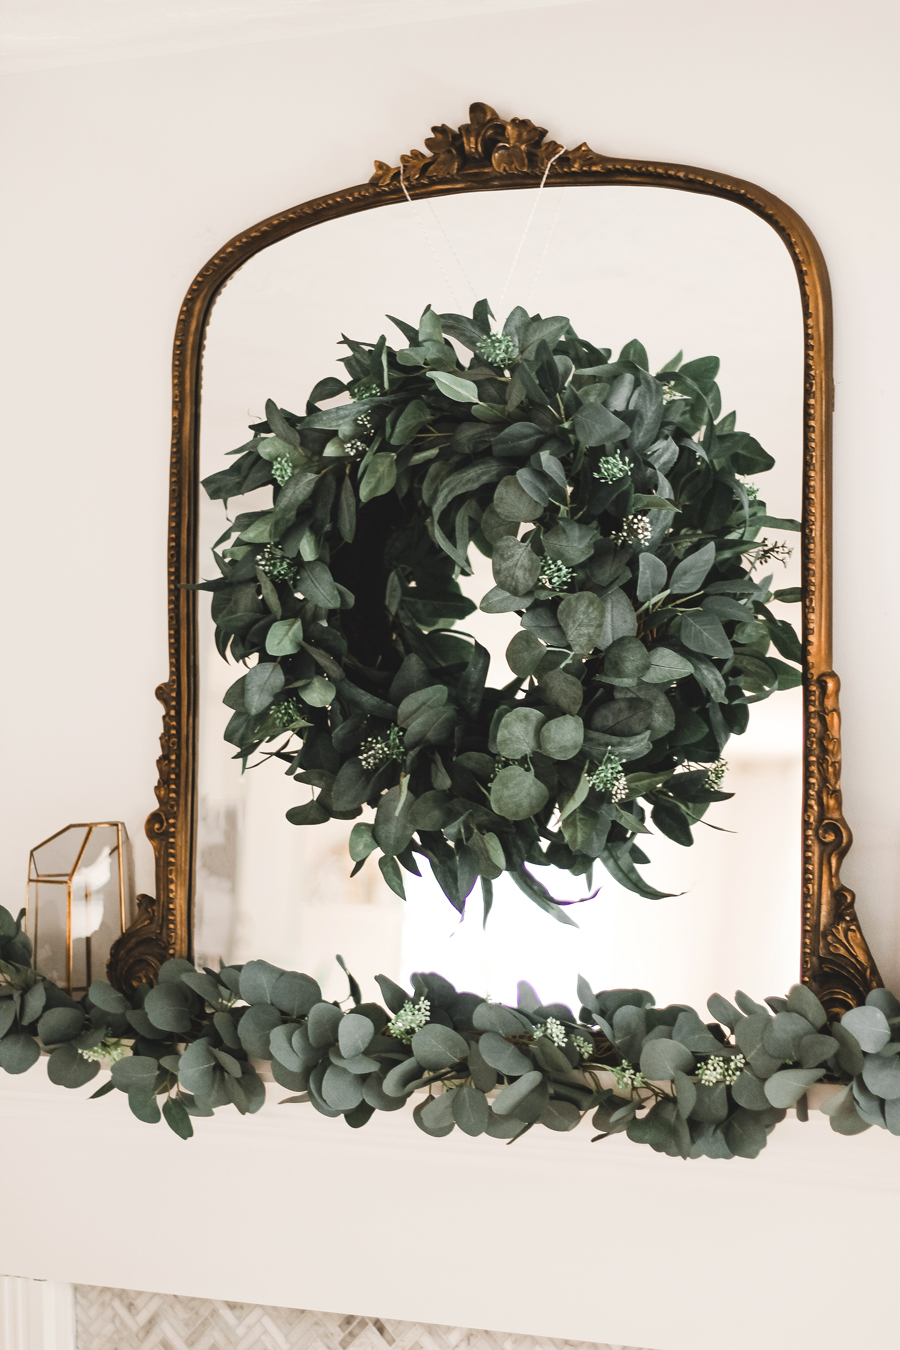
Here are some final photos of our new marble herringbone fireplace! And yes, Muenster approved. If you follow along on IG stories, you know that he is glued to the fireplace when it’s on 😆
Thank you to my daddy-o for the prettiest fireplace around and for diving into all my project ideas 😀
If you have questions, leave them in the comments below and I can have my dad or I answer them for you!
OUR NEW MARBLE FIREPLACE





SHOP OUR FIREPLACE MAKEOVER
