Since moving into our first home, I’d been craving to do something creative to our living room wall that has our fireplace on it. While I love the idea of wallpaper, and even plan to do that within our master bedroom, I knew I’d never commit to one for this living room wall. Our downstairs is a complete open concept so there was no way I’d find a print I was willing to see for 10 hours out of the day, 7 days a week for many years to come haha!
I had always thought shiplap looked cute, but was too “farmhouse” for my house aesthetic and style. It wasn’t until I saw it applied vertically that I knew that idea was a winner! There is something about shiplap being applied vertically that puts a modern-feeling spin to it.
Today I’ll share how we installed our vertical shiplap!


HOW TO INSTALL VERTICAL SHIPLAP
SHIPLAP INSTALLATION SUPPLIES
- 8′ PrimeLinx Shadow Gap Shiplap, 12′ here
- Chopsaw, circular saw or tablesaw
Note: we own all three saws, but mainly used the chopsaw for this project. - Bostitch Finish Pneumatic Nailer
- Bostitch Air Compressor
- 2″ Finish Nails
- Ladder
- Minwax White Wood Putty
- 3″ Putty Knife
- White Paintable Caulk
- 9″ Paint Roller Frame
- 9″ 3/4 Paint Roller Cover
- “Pure White” Paint in Egghshell finish by Sherwin Williams
SHOP THE PROJECT
Before Installing Vertical Shiplap


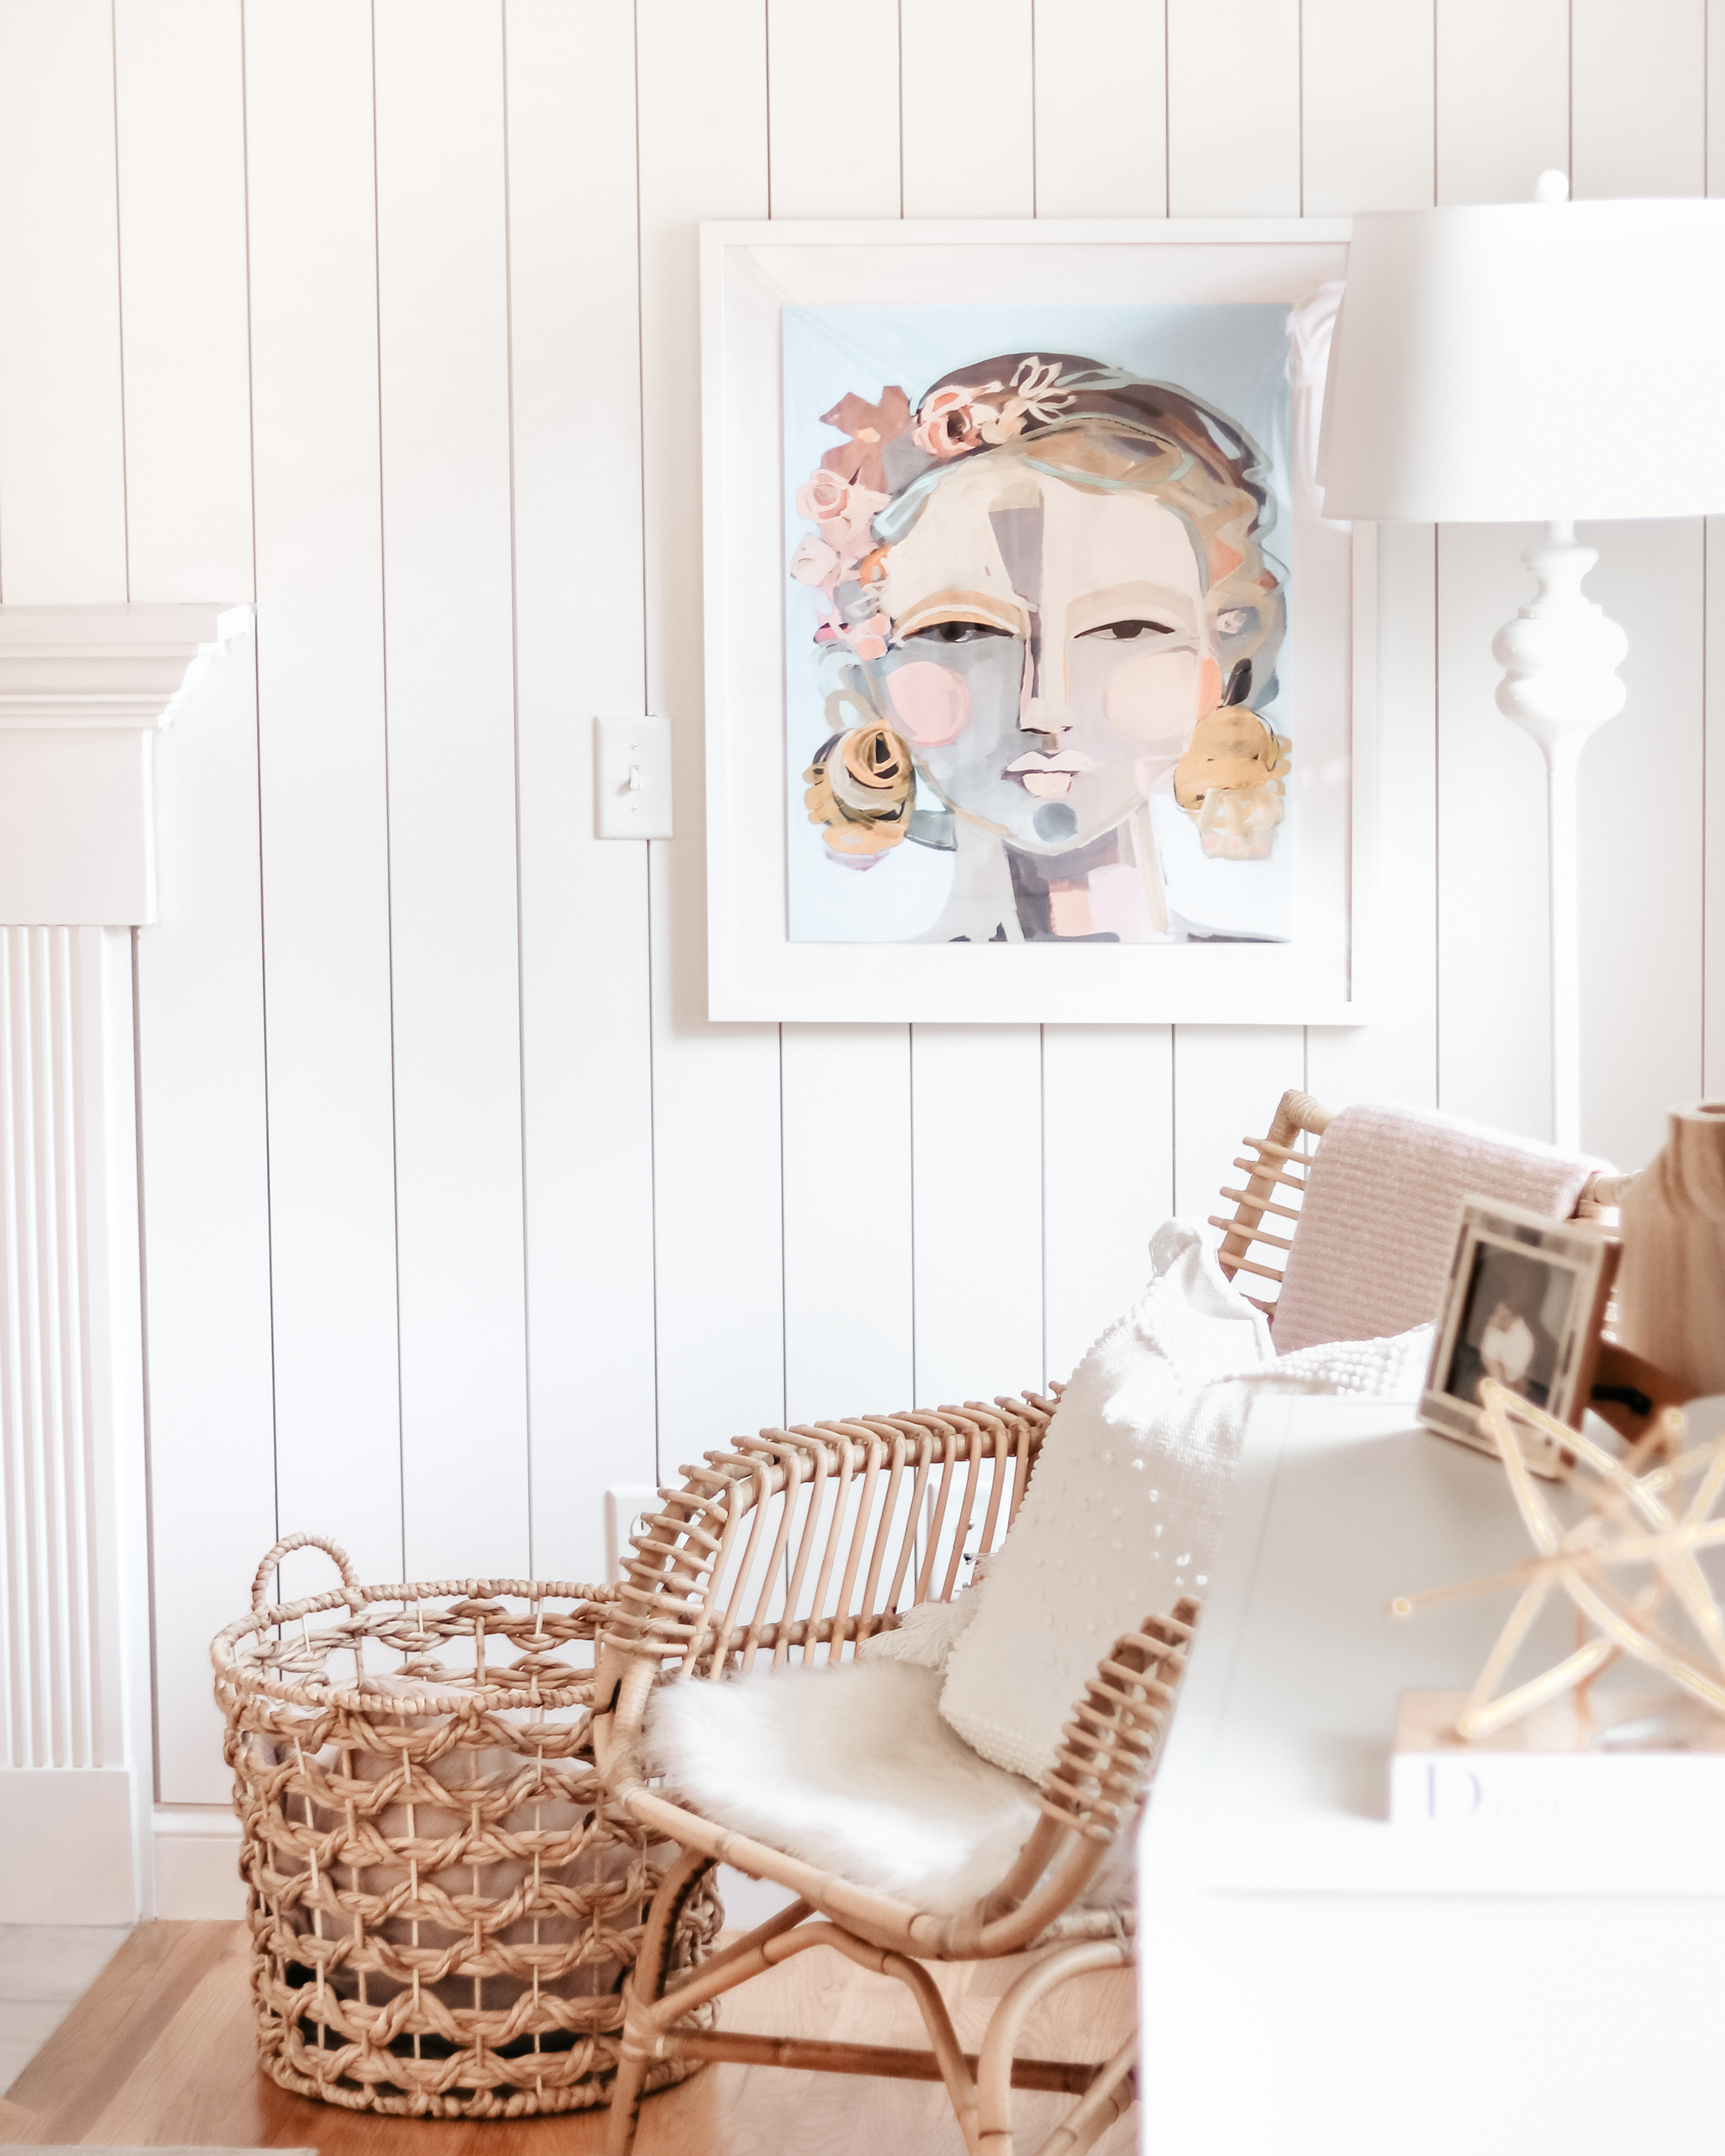
After Installing Vertical Shiplap


HOW TO INSTALL SHIPLAP
STEP 1: MEASURE THE AREA
To understand how many boards you will need, measure the area of the wall you are applying your shiplap to. Be sure to always purchase a couple more boards than you need to buffer for any accidents.
STEP 2: PREP YOUR WALL
Depending on you walls, you may need to sand any texture off. prior to application. This way your boars will apply to the wall straight and firmly. Our house is a new build so we skipped this.
STEP 3: TRIM YOUR BOARDS
Once you’re ready to install the shiplap, cut one board to the length of the wall using a saw. We used the 8′ PrimeLinx Shadow Gap Shiplap and cut them down a bit to account for our baseboards. We used our chopsaw for this. Once we confirmed that the board fit perfectly, we used it as our guide to chop the other boards.
Note: Some tutorials online instruct you to remove your baseboard [maybe if you’re replacing them?), but either way we did not remove ours.
STEP 4: SECURE YOUR BOARDS
To install, my husband stood on the ladder while I was on the floor, each holding one end of the board in place. Make sure to adjust the board so that it fits perfectly to the ceiling and the floor or baseboard.
To secure the board, use a nail gun to apply apply three 2-inch finishing nails on the lip of the board – at the top, middle and bottom. If there is any additional pucker, add nails as needed. You can also use a hammer for this, but I highly suggest using a nail gun because it’s 20X faster. Additionally, the hammer can often dent the shiplap board which will make an uneven surface.
STEP 5: REPEAT STEPS 3-4
Continue repeating steps 3-4 until your wall is complete!
You will likely have to get crafty with a jigsaw or hand saw to some pieces of shiplap around outlets, or in our case, a fireplace! If you have outlets on your wall, remember to turn off the electricity while you work.
STEP 6: PATCH HOLES
Since you applied the finishing nails on the lip that is hidden once each board is layered, you won’t have many holes to fill. If you applied any additional nails on the board to reduce any bow, you’ll want to fill them.
I filled holes with Minwax White Wood Putty. I read that joint compound and caulking aren’t great for this because both products lose moisture with time which will reduces their size, ultimately leaving a hole. in size once the moisture comes out of it which will leave a bump after you paint.
Once you’re done, let it dry a bit and then lightly sand each hole, and any other uneven areas, to make sure the surface is flat.
STEP 7: PAINT!
Now paint! For my space, I compared Sherwin Williams Alabaster (creamy warm toned), Pure White (neutral toned) and Reflective white (cool toned). I opted for the middle ground, Pure White, which is what you see here! I also went with an “eggshell”finish so that the look was matte, but it doesn’t come with a high upkeep like a “flat” finish does.
When it comes to selecting a paint, always grab samples and test the colors in your space. Depending on your natural lighting during the day, your indoor lighting at night and even what direction your wall faces.. the paint color looks different. I painted all three onto a cut off piece of our shiplap board and viewed the paint colors side-by-side in all different times of day. This made me know, without a doubt, what color was best for our space.

I hope this blog posts help you with installing your shiplap statement wall! Leave any questions below. Xo Mindy
SHOP THE PROJECT


